Page 26 of 51 FirstFirst ... 16242526272836 ... LastLast
Results 251 to 260 of 510

Thread: My 88" Series 3

  1. #251
    Join Date
    Feb 2004
    Location
    Williams West Aust
    Posts
    20,998
    Total Downloaded
    0
    Quote Originally Posted by TimNZ View Post
    I'll do my best to keep up the enthusiasm There are plenty of little jobs to do, and I have the funds set aside for the engine and gearbox, so they can go back in.

    The only major expenses I have left is the painting and interior. I wanted to paint it myself, but the dangers of 2 pack paint make it not worth it, and by the time I faff about getting a booth of some sort knocked up, and buying the safety gear, it's going to cost more than paying a painter.

    Cheers,
    Next time you are talking to my Bro,ask him to put you in touch with Mike.He paints all Matt's crowd classic cars,you wont get a better paint job.
    Andrew
    DISCOVERY IS TO BE DISOWNED
    Midlife Crisis.Im going to get stuck into mine early and ENJOY it.
    Snow White MY14 TDV6 D4
    Alotta Fagina MY14 CAT 12M Motor Grader
    2003 Stacer 525 Sea Master Sport
    I made the 1 millionth AULRO post

  2. #252
    Join Date
    Mar 2008
    Location
    Perth, WA
    Posts
    1,947
    Total Downloaded
    0
    And progress

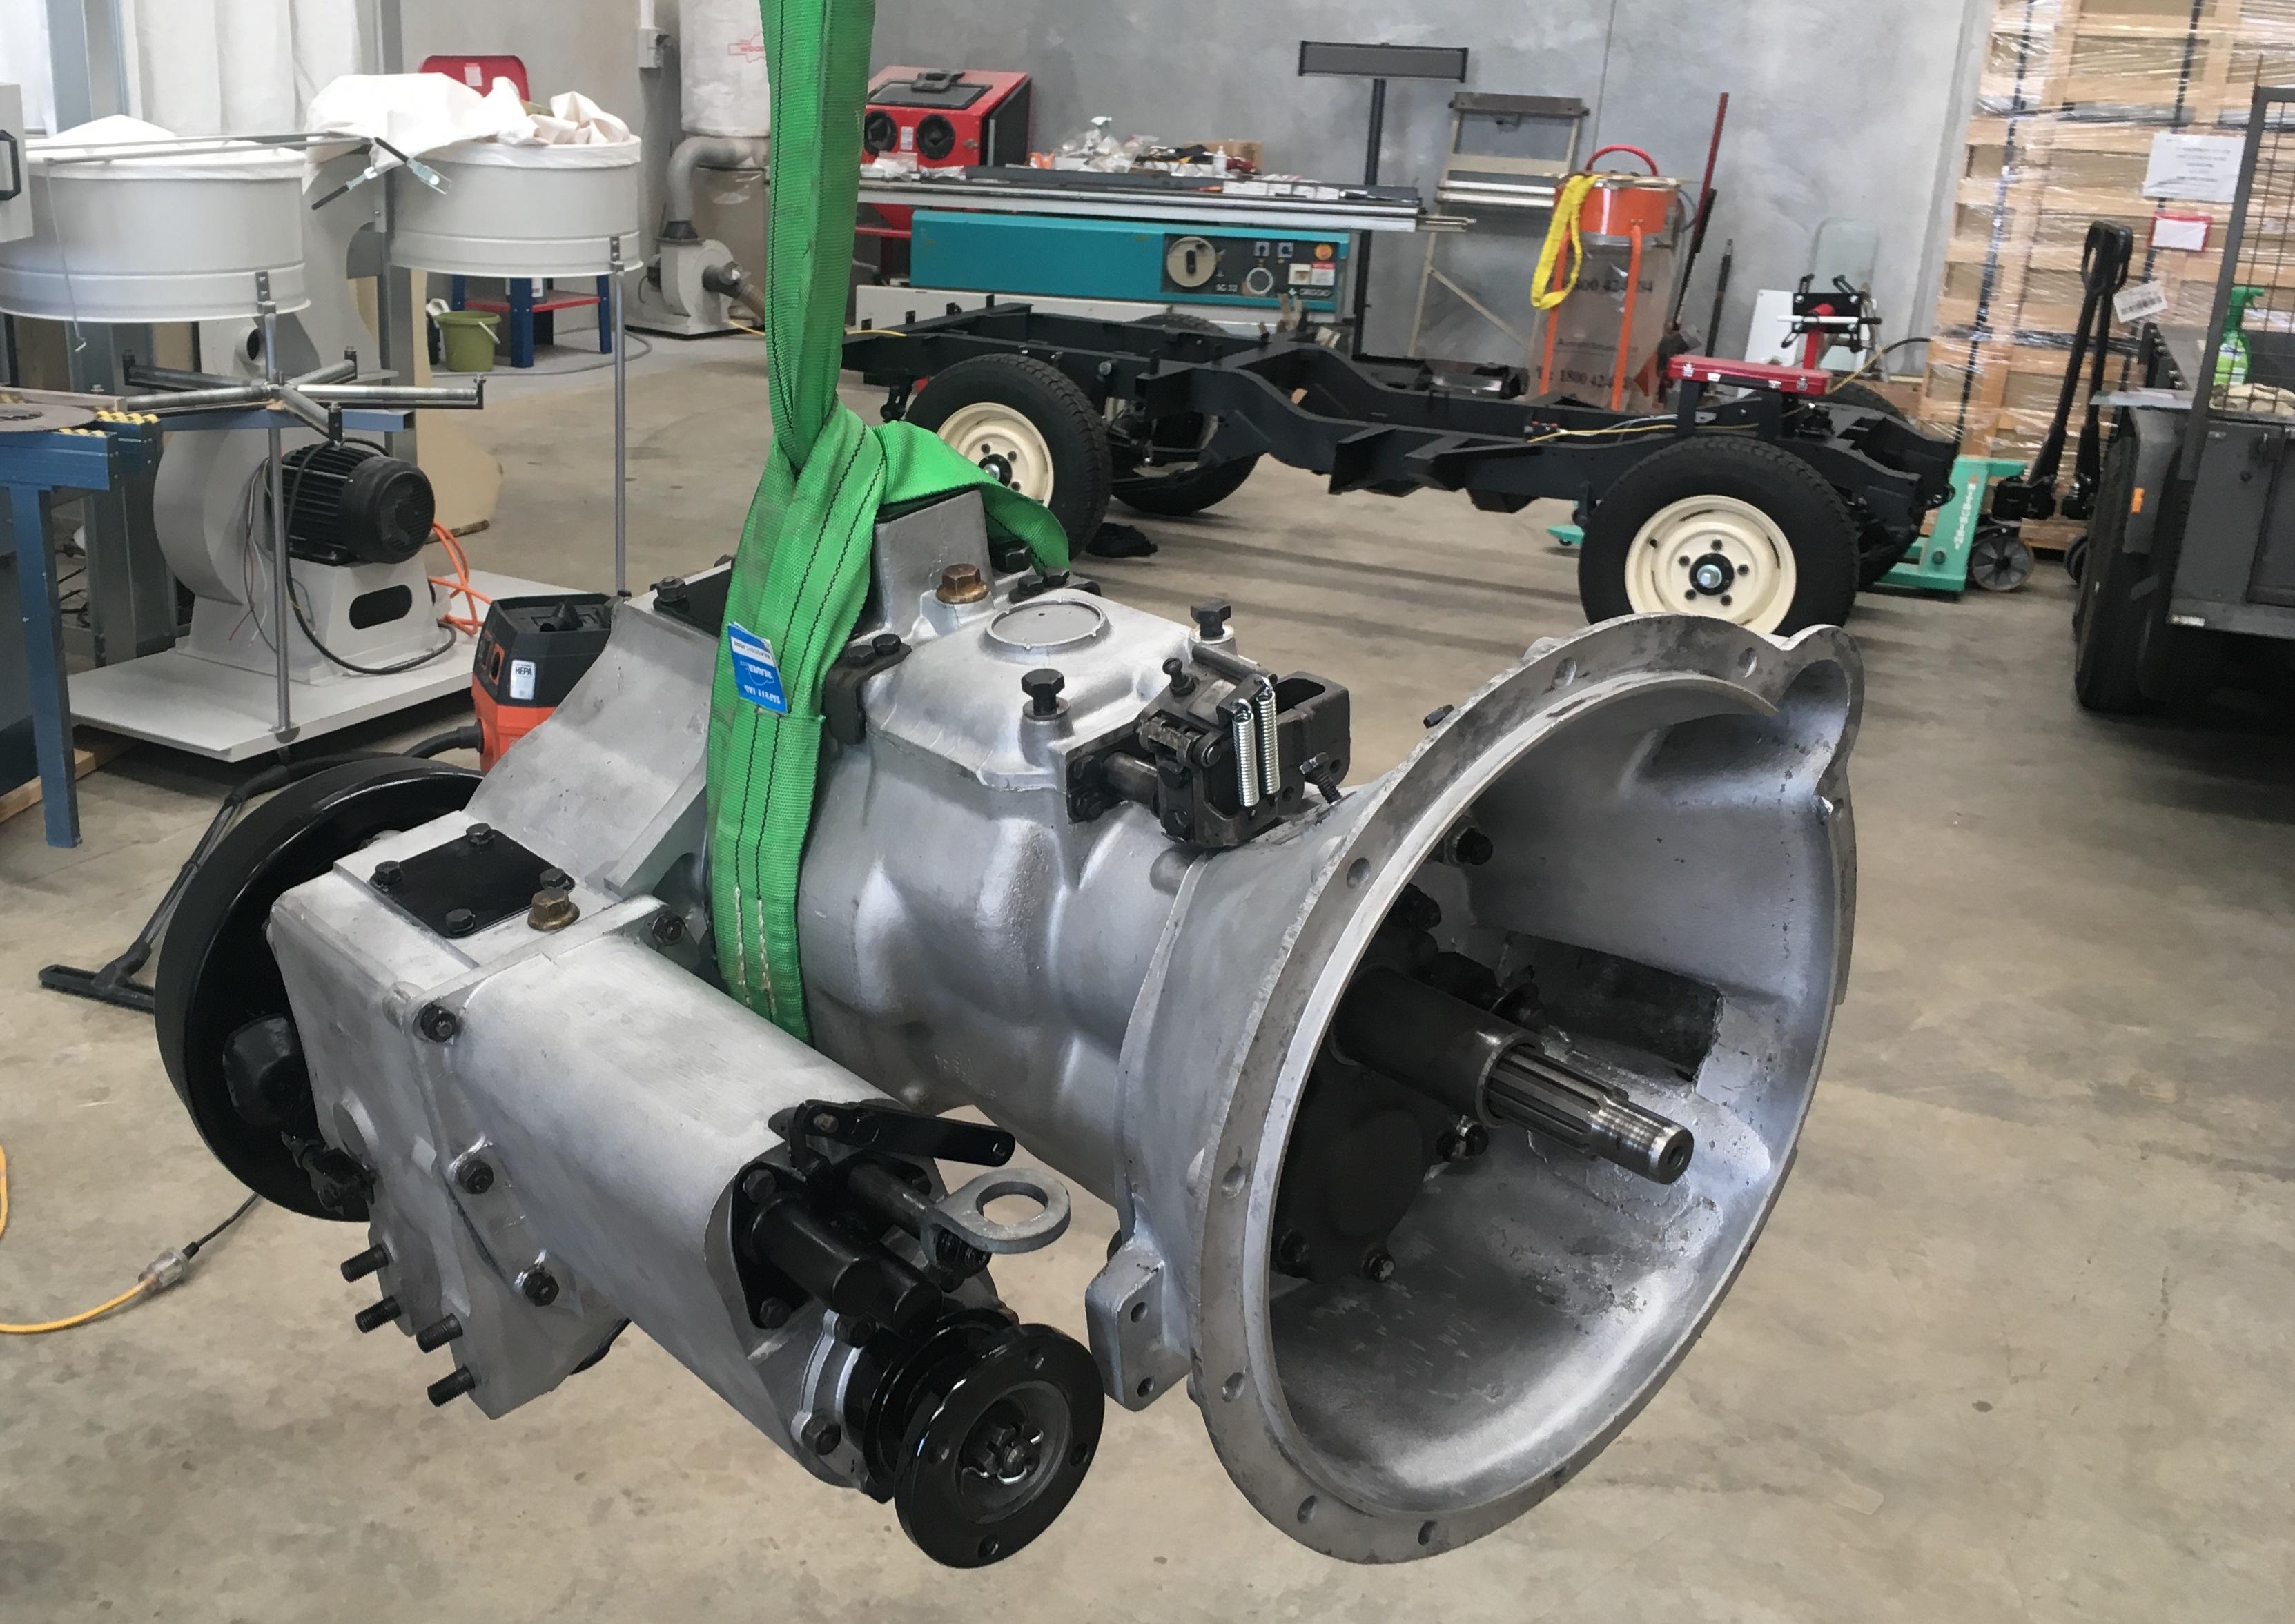
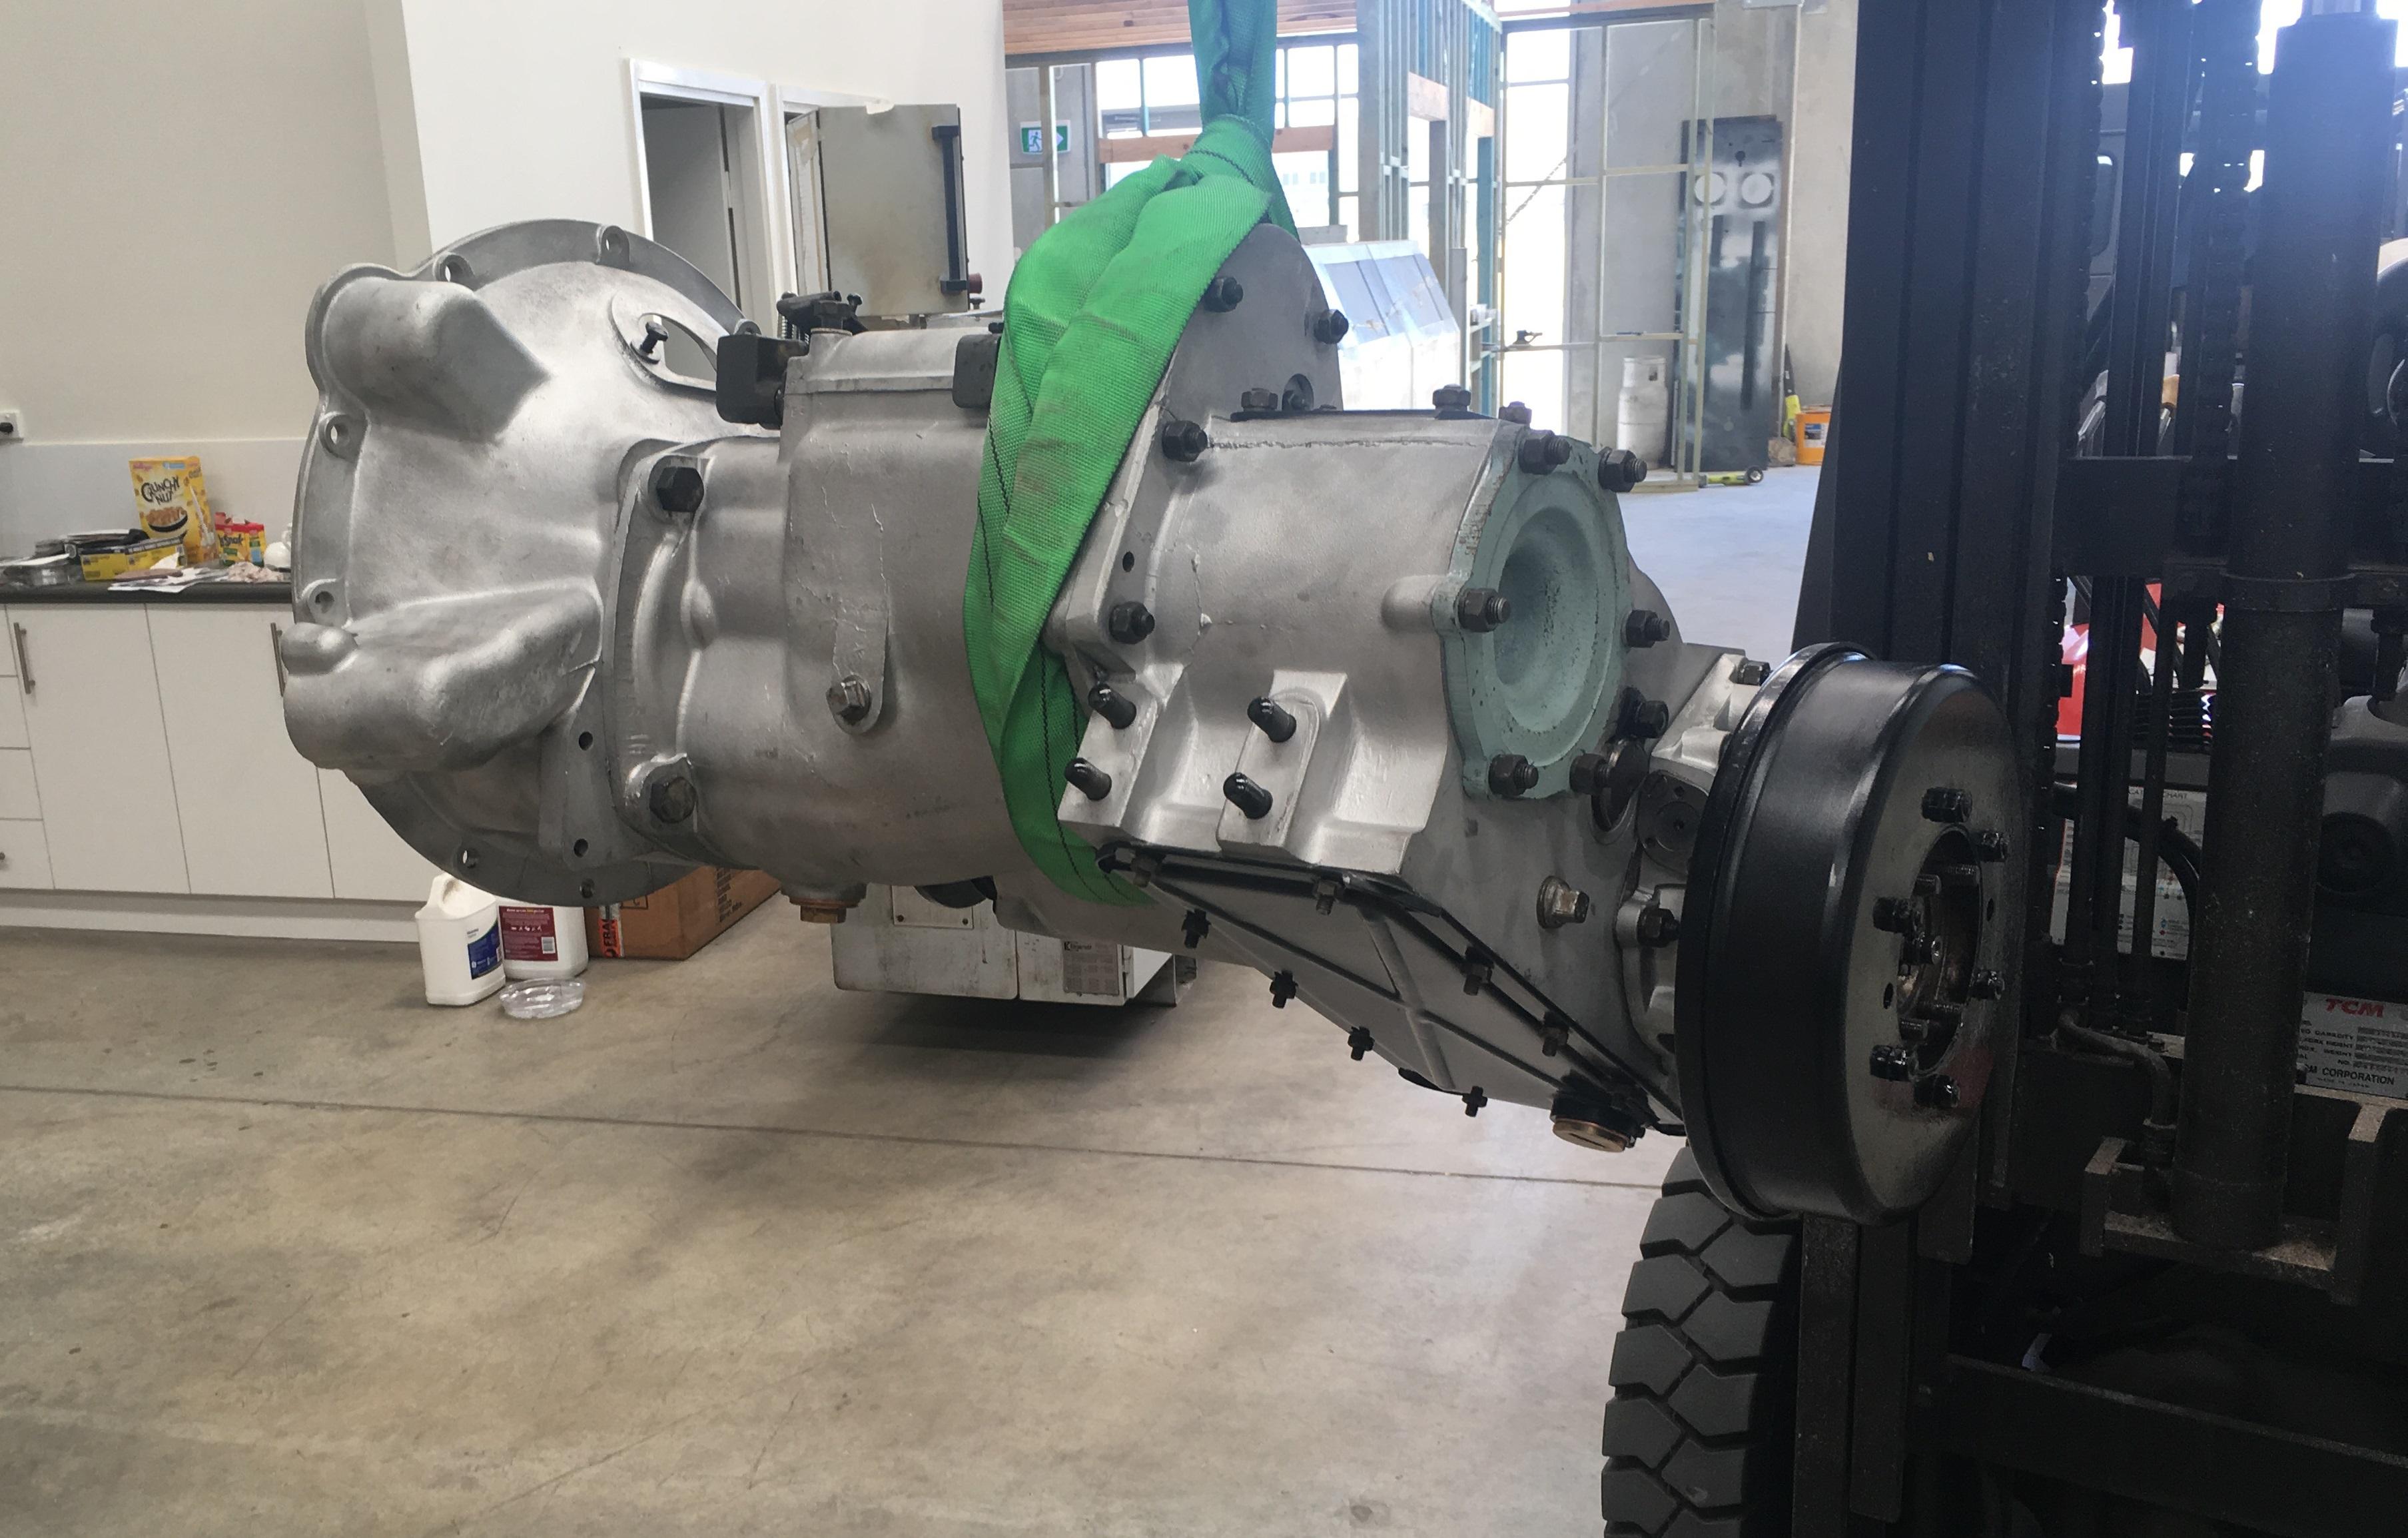
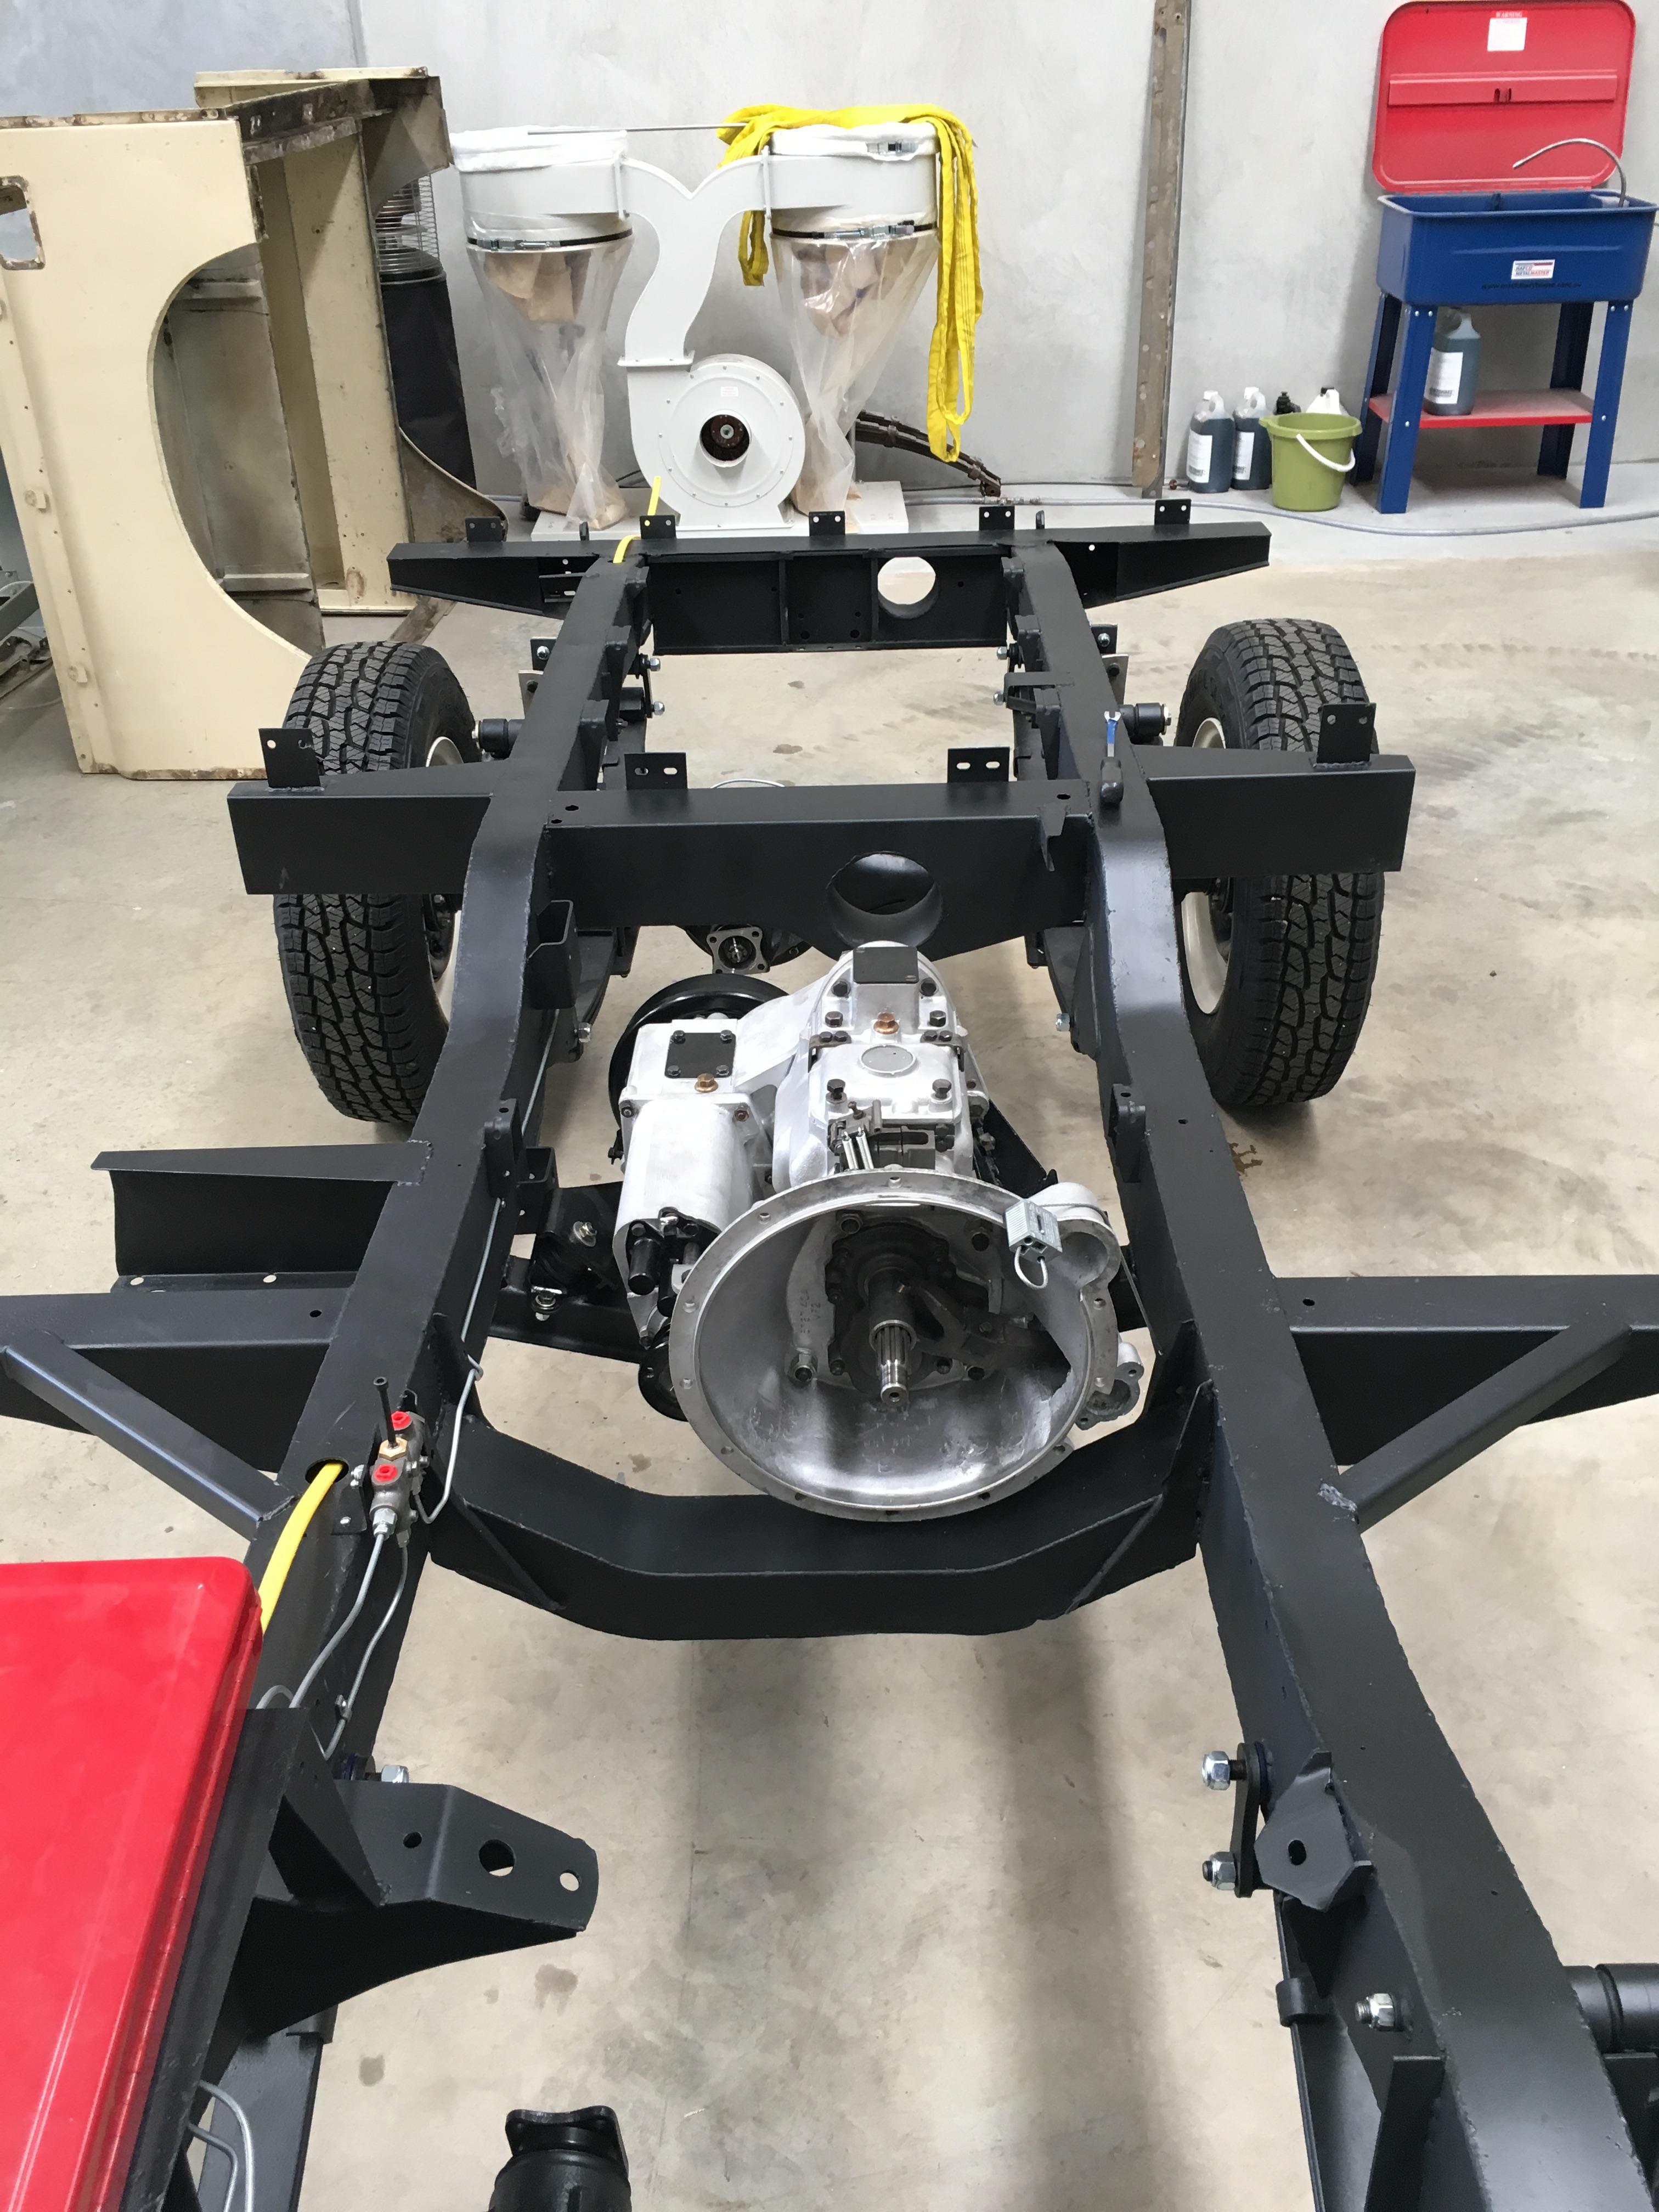
    Got this bit back to the workshop today after watching it being built over the last couple of days


    The bloke that put it together, Max Deburgh, (some may remember the name), is an absolute wealth of knowledge when it comes to LR series boxes, and LR diffs. Not too keen on me getting the camera out though, so no pictures.

    A couple of mods were made, they were:

    Ashcroft high ratio kit.
    Speedo drive gear had a small blob of weld put on it so it located on the shaft spline. This means it is actually driven, not just relying on friction to spin it.
    A spacer was made, (out of gearbox grade No8 wire), to keep the bearings on the transfer box idle gear separated as much as possible. This means each bearing is "under" its, (high or low), gear.
    The selector shaft detents for 1/2 and 3/4 were reground to ensure full mesh when the a gear is selected.

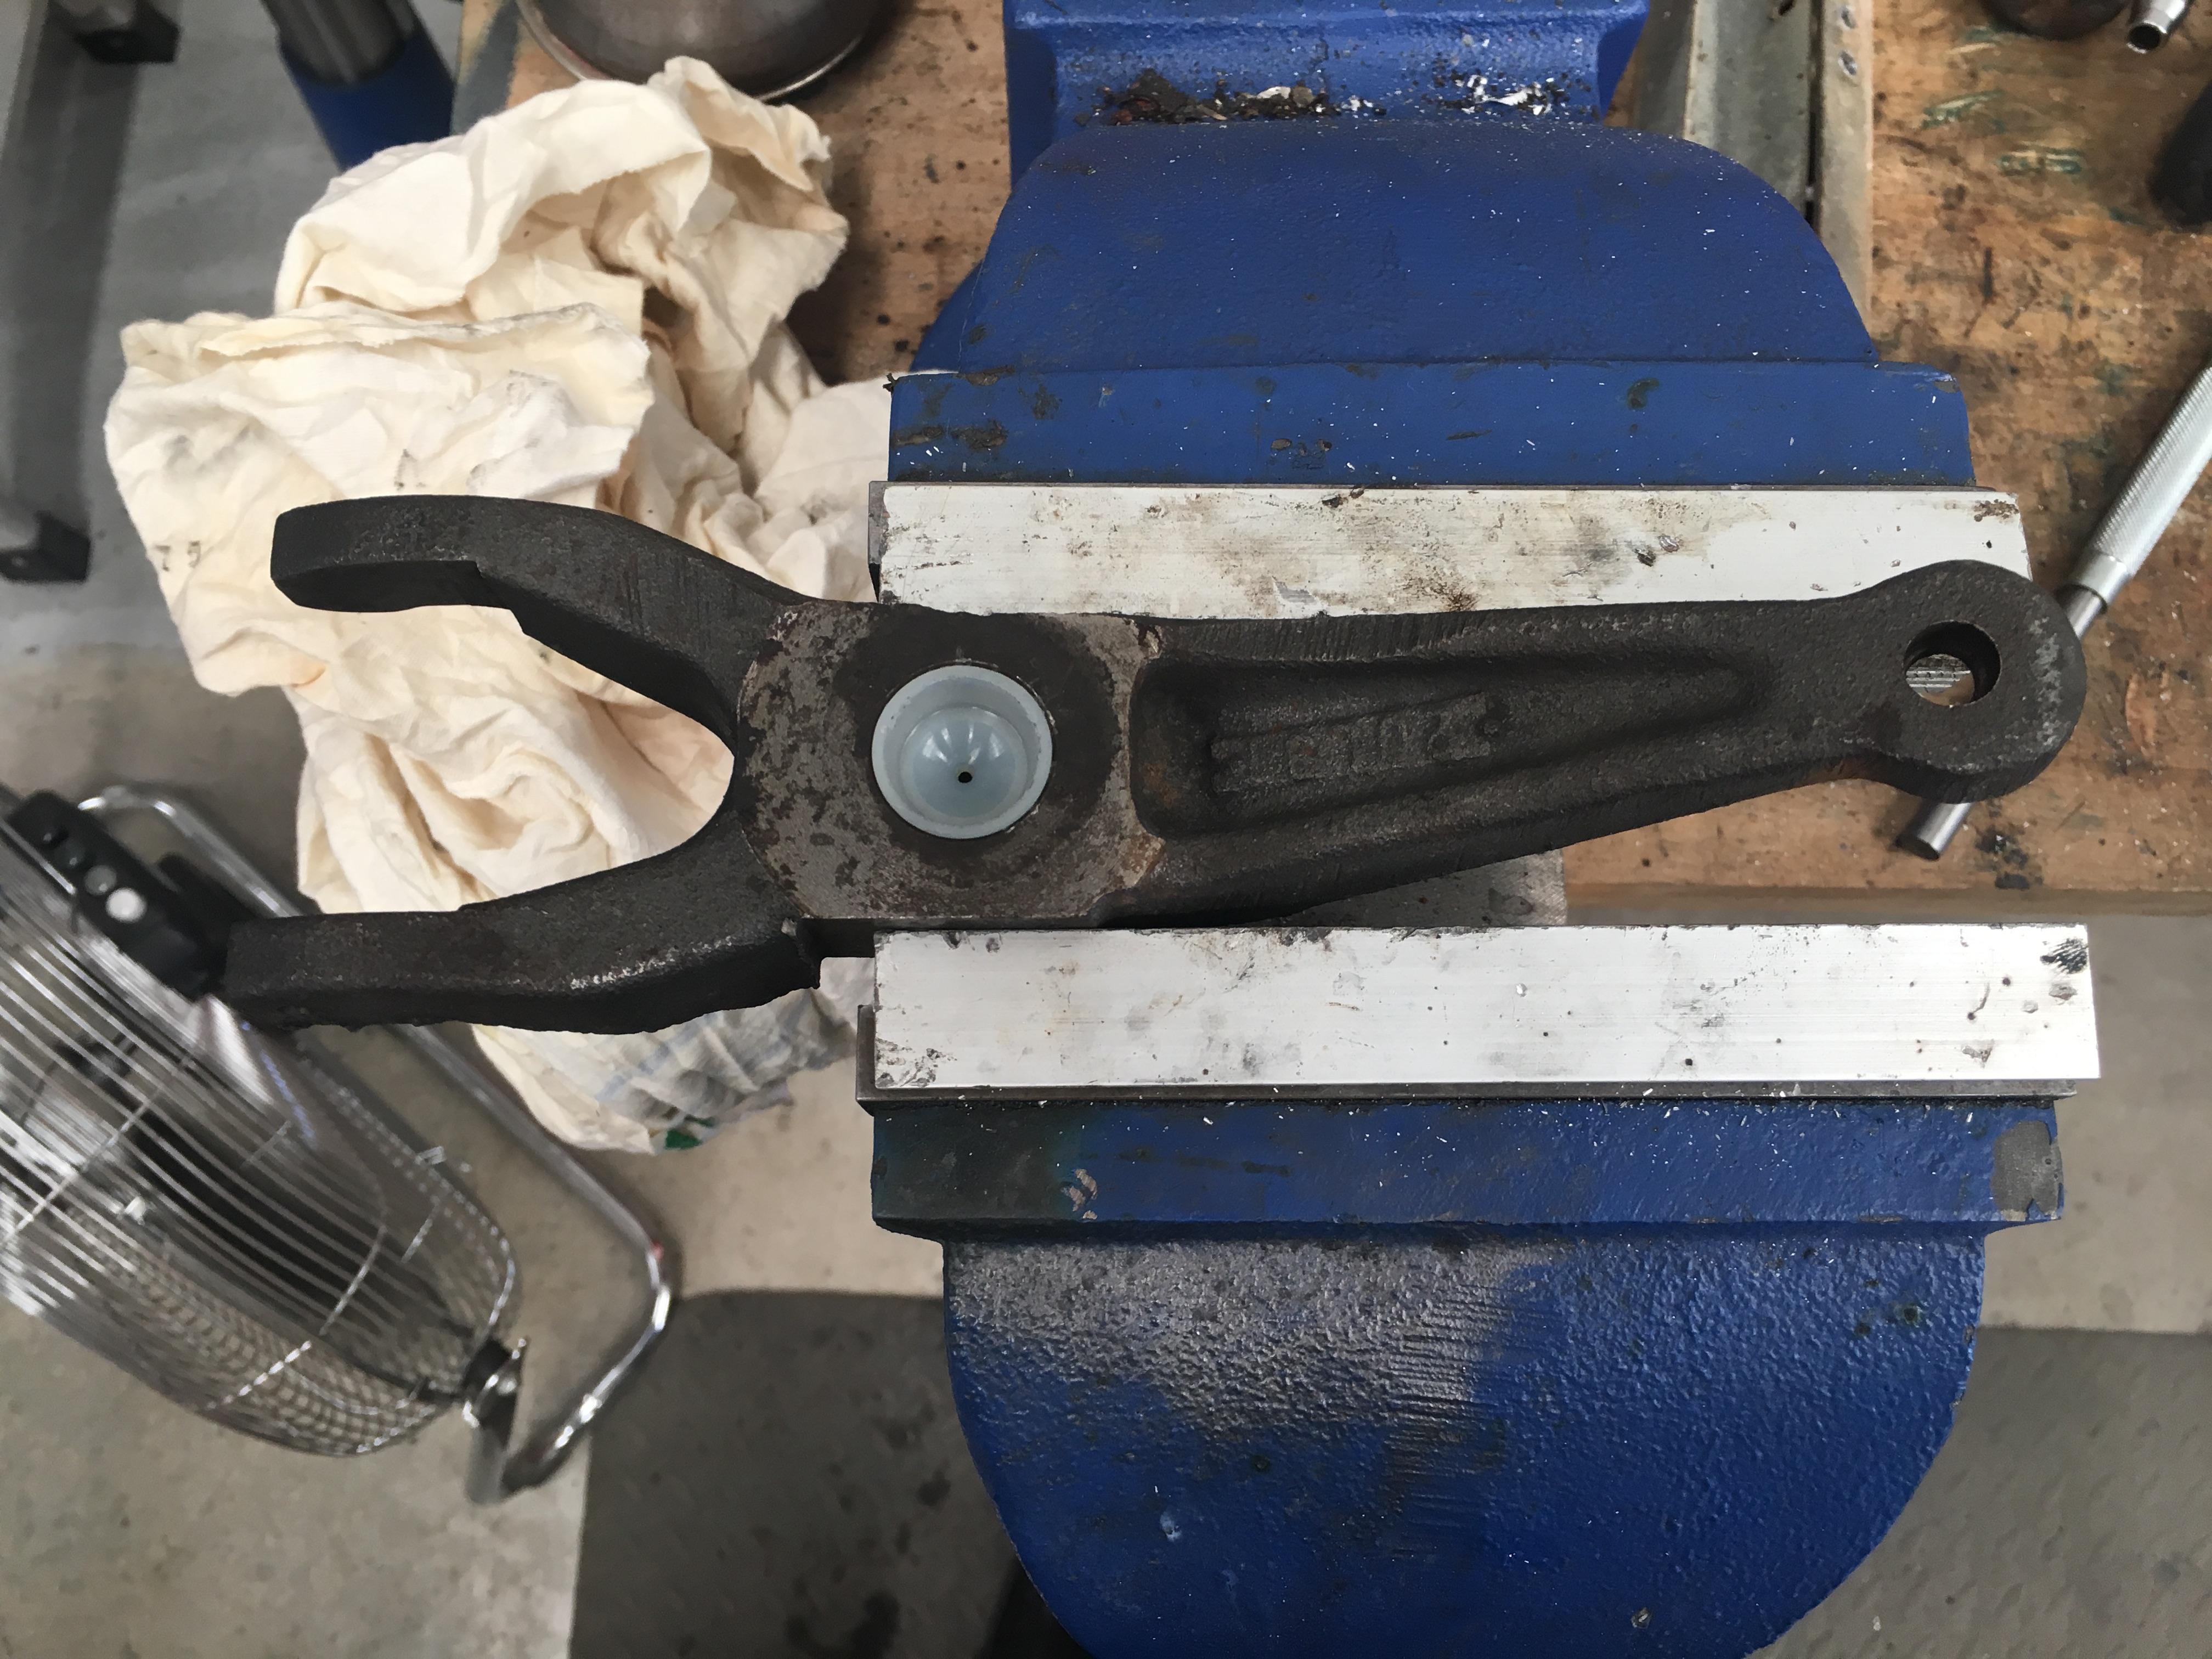
    The clutch fork got a new swivel bush


    And was refitted to the gearbox, and the only metric bolt on the gearbox tightened


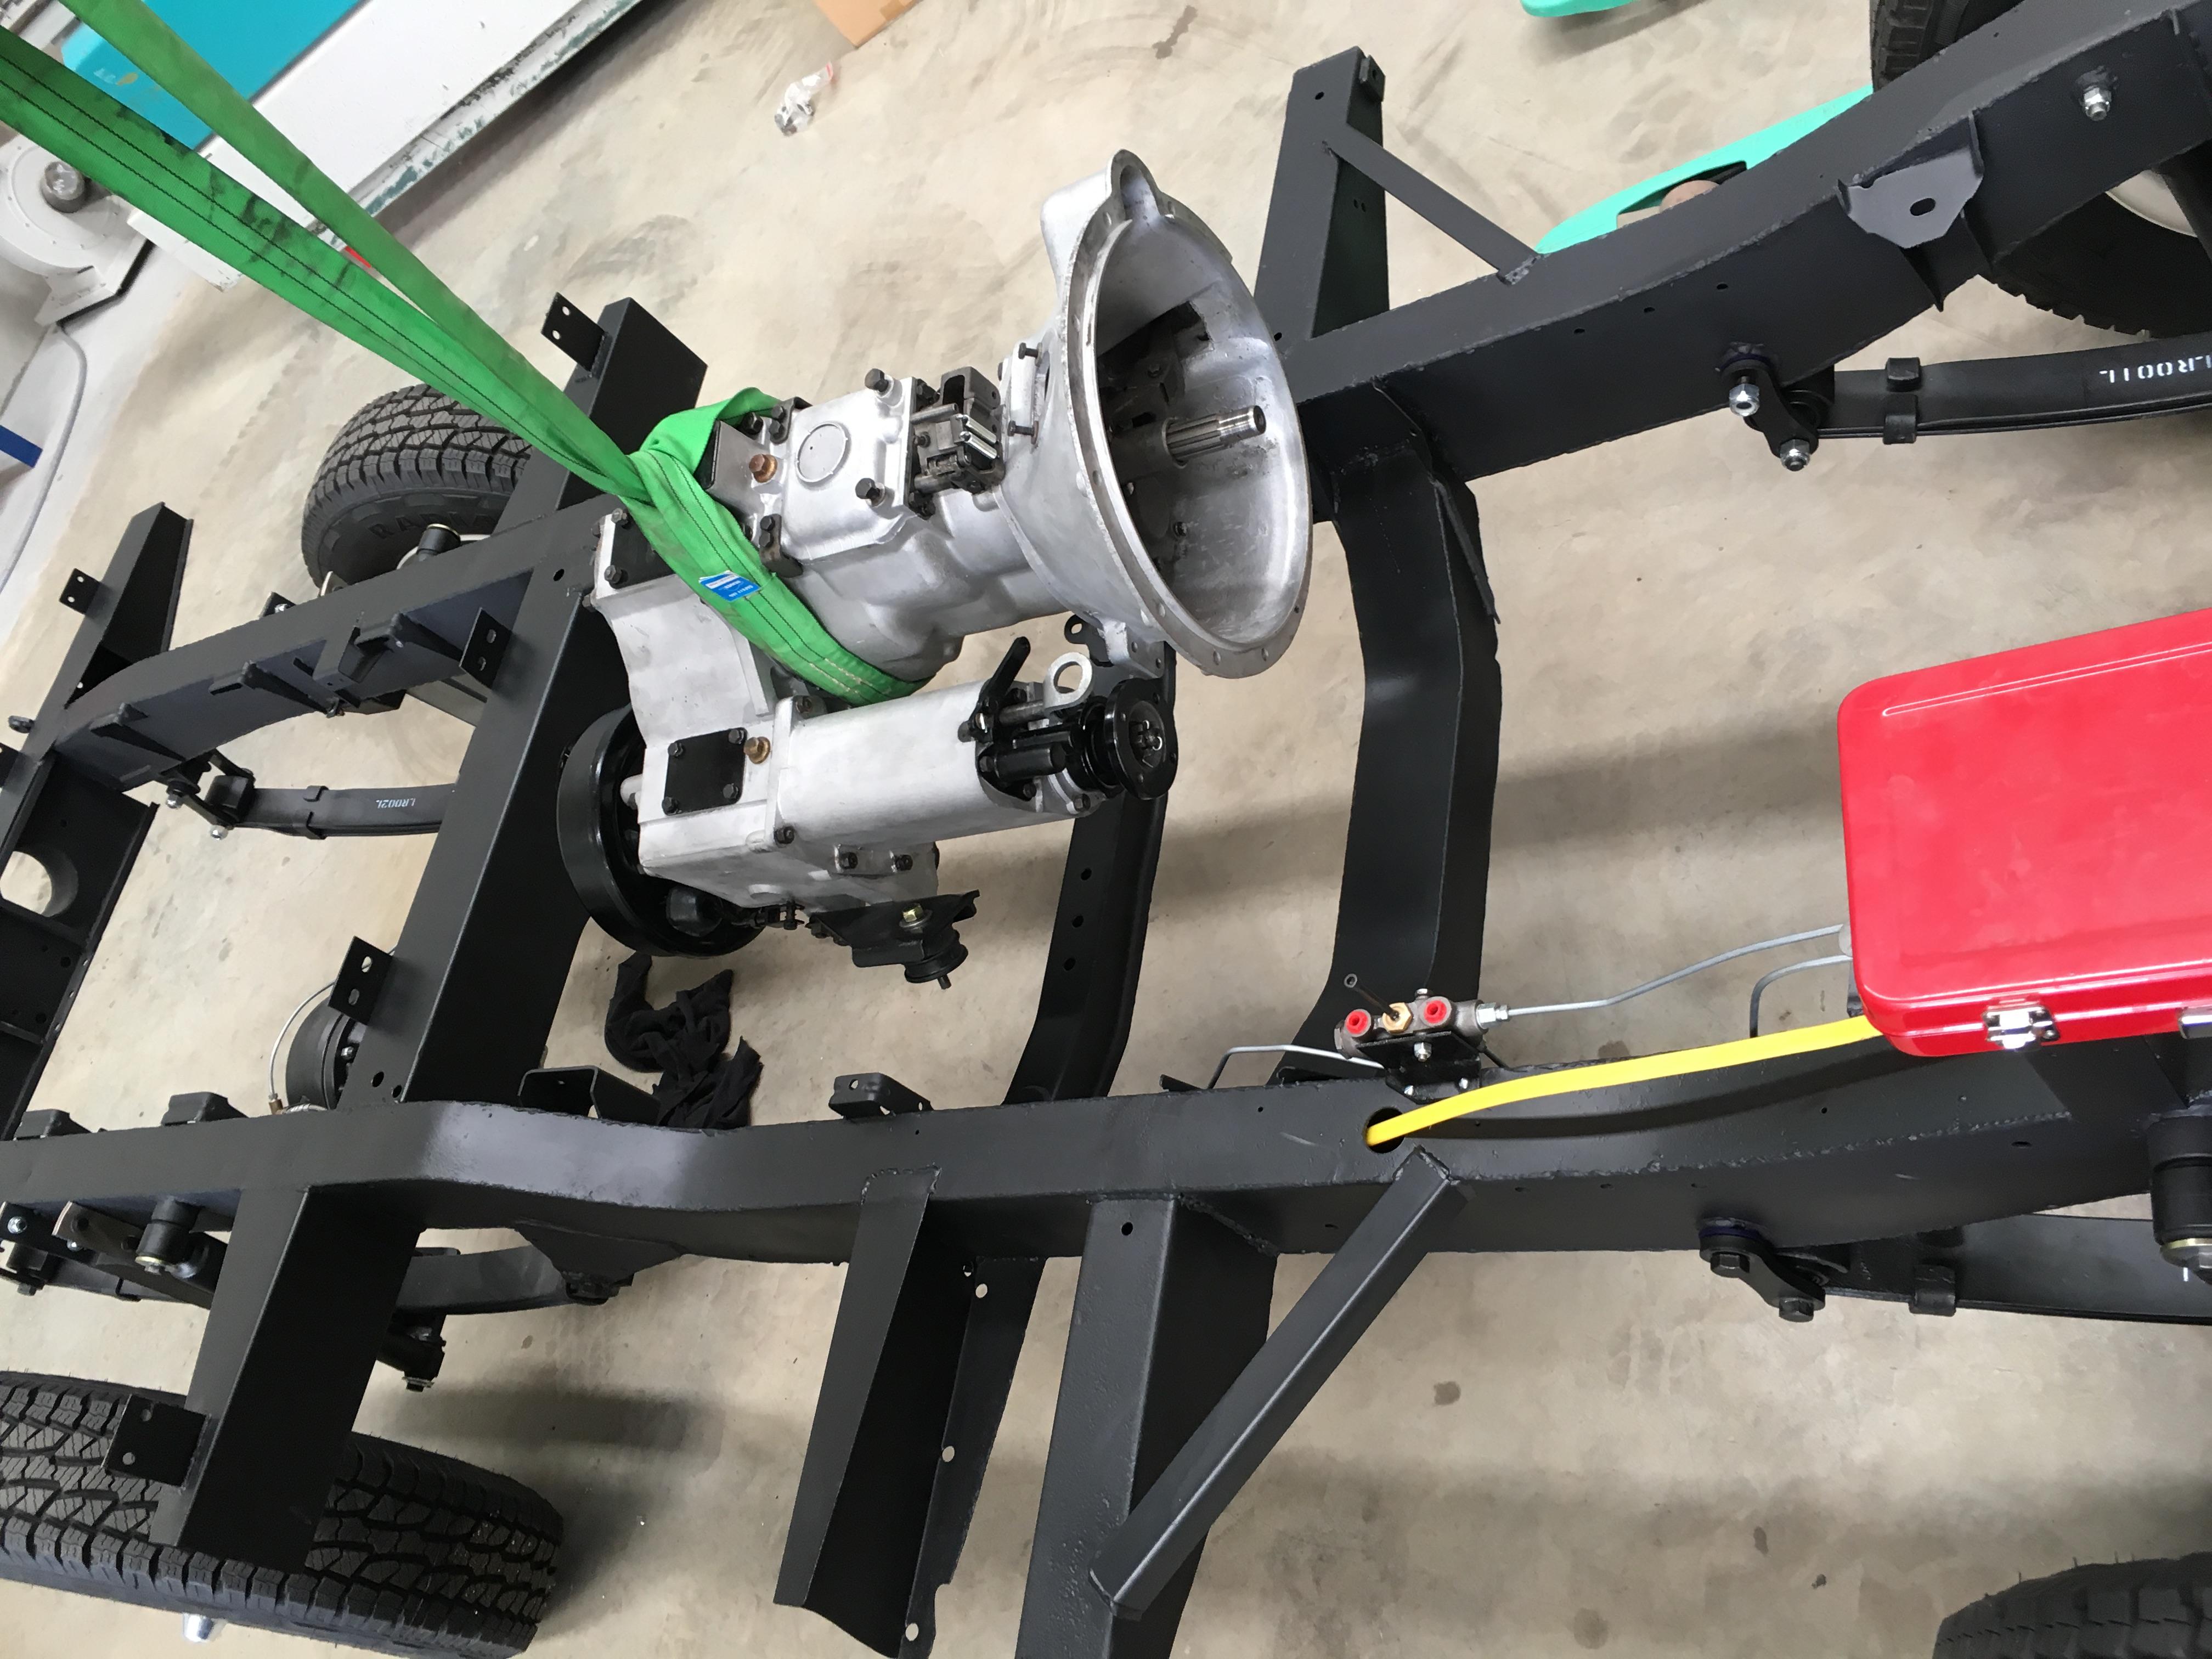
    It was planned to put the gearbox back in its place, but the new mounts had metric threads on it, and surprisingly I had no M10 nyloc nuts. Also, I bumped my head on the forklift, causing me to rapidly lose interest in digging around for said M10 nuts

    But tomorrow's another day!

    Cheers,

  3. #253
    Join Date
    May 2015
    Location
    Near Fremantle, WA
    Posts
    168
    Total Downloaded
    0

    Painting

    If you're looking for a great classic car painter, Patrick at Autocraft in Booragoon. He has a super nice E Type Jag he restored and painted himself.

    By the way Tim, I love the build! I also have a little bit of workshop envy.

  4. #254
    Join Date
    Mar 2008
    Location
    Perth, WA
    Posts
    1,947
    Total Downloaded
    0
    Back to it today, got the gearbox all read to mount in the chassis, till I realised I hadn't prepared the mounts that bolt to the chassis


    So, bit of sand blasting, then fresh paint on the mounts...... In the mean time, both the diffs were leaking out of the drain plugs, so I decided the time to make a tool to for the plugs was well over due.

    Cut and shaped a bit of 6mm (1/4") steel to make the tongue of the tool


    Make sure it fits


    Cut, (well, grind), a slot in an old wheel nut, this way I can use the wheel brace to tighten the drain plugs.


    And gently weld in place


    I managed to get just over a turn out of the front diff plug, and 3/4 of a turn on the rear, so fingers crossed the leaking stops!

    Gearbox mounts are dry, so the box can go back in! (The piece of wire on the passenger side is just to hold the box in postition).


    And prop shafts in


    The rear prop has the most confidence inspiring sticker on it


    No such sticker was on the front one......

    Cheers,

  5. #255
    JDNSW's Avatar
    JDNSW is offline RoverLord Silver Subscriber
    Join Date
    Jan 1970
    Location
    Central West NSW
    Posts
    29,511
    Total Downloaded
    0
    I,m away from home, so have no manuals with me, but isn;t the front prop shaft supposed to have the slip joint at the gearbox end to give a bit more protection from the elements (military ones have to have it the other way to clear the cross member, with the lifted suspension).

    Correct me if I'm wrong.

    John
    John

    JDNSW
    1986 110 County 3.9 diesel
    1970 2a 109 2.25 petrol

  6. #256
    Join Date
    Sep 2012
    Location
    Westlake ,brisbane
    Posts
    3,922
    Total Downloaded
    0
    Couple of drops of Locktite Hydraulic Sealer will stop oil leaking through the threads on the drain plugs but it will not make the plug hard to remove..
    And with booth prop shafts on the S1s the sliding joints go th the gear box end.

  7. #257
    Join Date
    Sep 2008
    Location
    Serpentine WA
    Posts
    113
    Total Downloaded
    0
    Quote Originally Posted by debruiser View Post
    is that 2" of lift with standard shackles or with military/1 ton shackles?
    Sorry for the delay in reply, the parabolic so I have I believe are standard shackles not military. It's only a tray back so no great weight on the springs. Mind you I can jump I the tray and there is very little movement.

  8. #258
    Join Date
    Mar 2008
    Location
    Perth, WA
    Posts
    1,947
    Total Downloaded
    0
    So, propshaft directions.... Looks like I got a bit ahead of myself, I'll have to check in the book which way they go. (The book is at the engine machinist at the moment, so that will have to wait).

    When I pulled the car apart the front had the slip at the diff end, and the rear had the slip at the transfer end....


    Happy to hear anyones input on which way is the right way

    Cheers,

  9. #259
    Join Date
    Feb 2004
    Location
    Williams West Aust
    Posts
    20,998
    Total Downloaded
    0
    My 109 Ser3 has them how your pic is,BUT,I too have had them on and off the vehicle!!!!
    Andrew
    DISCOVERY IS TO BE DISOWNED
    Midlife Crisis.Im going to get stuck into mine early and ENJOY it.
    Snow White MY14 TDV6 D4
    Alotta Fagina MY14 CAT 12M Motor Grader
    2003 Stacer 525 Sea Master Sport
    I made the 1 millionth AULRO post

  10. #260
    Join Date
    Dec 2006
    Location
    Narrogin WA
    Posts
    3,092
    Total Downloaded
    0
    My Rover workshop manual "Land Rover Series 111" (Edition 4), has a diagram showing the sliding-joint at the axle end on the front and the sliding-joint at the gearbox end on the rear,

    Cheers Charlie

Page 26 of 51 FirstFirst ... 16242526272836 ... LastLast

Bookmarks

Bookmarks

Posting Permissions

  • You may not post new threads
  • You may not post replies
  • You may not post attachments
  • You may not edit your posts
  •  
Search AULRO.com ONLY!
Search All the Web!